This small tools box is only 220 cubic inches.

The project started with a need for organizing some spare parts and small tools that were often needed but because of their size were often misplaced and then took way too long to remember where I last put them. The default storage was a little packaging box for some Lee Valley doohickies.

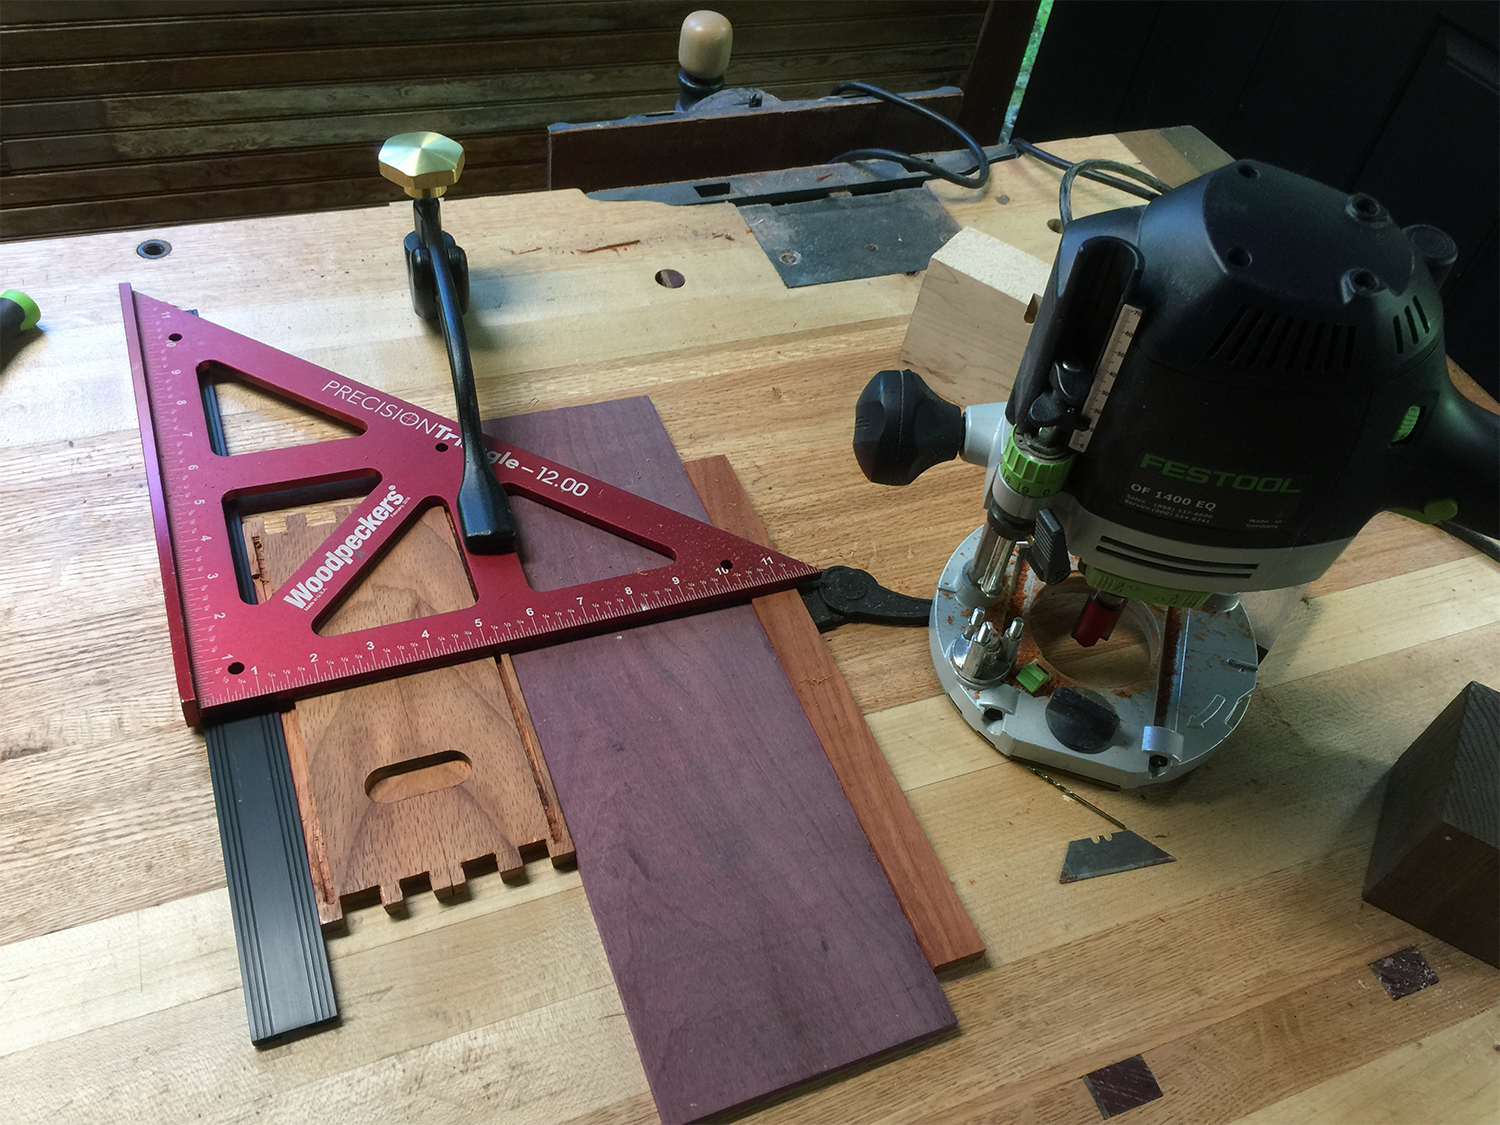
Thus it began as a open box to hold a number of essentials in dedicated compartments and for practice making dovetails. When the dovetails turned out better than expected, my ambitions for the little box grew. I'm anticipating needing to travel with some of my tools in the coming months. If the box is going to work for taking essentials back and forth, a latching lid would be needed. Looking for hinges for an inset lid for a box with 3/8" thick sides and lid was an unexpected challenge given my inexperience with this scale of construction and not wanting to spend an hour traveling to and shopping at the nearest Rockwell and Woodcrafters. Internet searches led to Rob Cosman's wood hinges.

As presented on YouTube, it was a very elegant solution, but with two initial obstacles before getting to the "devil is in the details" aspect of achieving the hinge itself. He stresses that a major requirement is the ability to drill a hole in the center of the dowel for pins to link the hinges. Entrepreneur that he is, Cosman then notes that he offers metal jigs built for that purpose. After some daydreaming about an alternate solution, a more readily available jig could be done with the right sized drill bit and forstner bit. My solution was $7 for the forstner bit vs $53 for his jig with shipping.

Now comes the hard part. Due to the tails being in the way, I needed to route out the groove in two different orientations which made for a suboptimal groove for the dowel hinge. Further, using CA glue for this application was a bad choice. To end, the joint failed which put me in a funk. DW noted- hobbies are supposed to be fun, right? But the silver lining to this black cloud was using a paduak replacement for the segment of the top removed to make a new groove. Making a new back portion using a pins first approach was another first. While the pin orientation remained an issue, the second try was a success using good ol' yellow glue. However, I was limited by geometry in how deep I could make the groove. Cosman notes that you need to cover close to 2/3rds of the dowel to avoid exposing the embedded pin.


The jointmaker table saw has made small size projects safe and enjoyable.


I didn't ruin anything, but cutting by pushing instead of pulling took some getting used to.
The last part was organizing stuff so it was readily accessible, yet would not get banged around or move out of place. The BCTW Kerfmaster made the dado cuts easy.
There is a triangular ruler that is used frequently enough to merit a place but due to lack of foresight was a bit too long. Here is the solution.
I was going to drill a hole in the front of the box as a hatch, but DW suggested looking for latches online and I found one suitable for the thickness of the sides and top. I then got ambitious and decided to try and inset the parts with resulting splintering and irritation. The CA glue mixed with fine sawdust along with a small sliver glued with CA saved the day.

Here are views of the finished little box.


DW requested an earing storage box for her Bday. That will be late in the summer. Also in the future is a hand tool chest that will have a compartment for this box. Fun, fun, fun!
No comments:
Post a Comment